Contact Us Today
*All indicated fields must be completed.
Please include non-medical questions and correspondence only.
Please include non-medical questions and correspondence only.
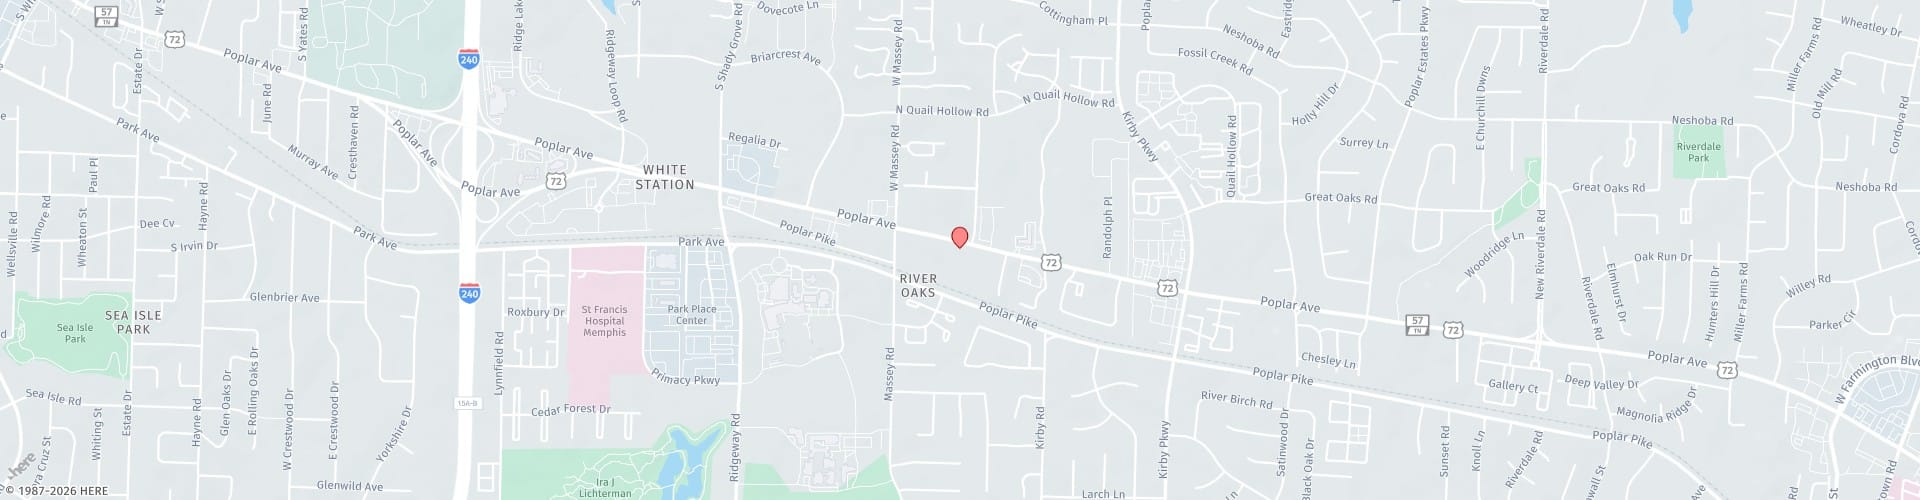
Our Location
Contact Us
Office Hours
Mon - Fri: 9am - 5pm
Sat & Sun: Closed
(By Appointment Only)
Sat & Sun: Closed
(By Appointment Only)